Quickstart
Emuplane runs as one container: the gateway and the console are two servers in the same image, and the state they own lives in the emulator's DynamoDB. The emulator itself is yours to run — MiniStack, LocalStack, moto or anything that speaks the same API.
What you need
- An emulator reachable from the Emuplane container. MiniStack on port
4566is the reference setup. - A container runtime with compose: podman or docker.
- Three settings — everything else has a default:
EP_BACKEND=ministack
EP_BACKEND_URL=http://ministack:4566
EP_CONSOLE_URL=http://localhost:4570
EP_GATEWAY_URL=http://localhost:4571
EP_BACKEND picks the profile (generic, ministack, floci, localstack,
moto); EP_BACKEND_URL is the only value that has to be right.
Pull it
The image is published to the GitHub Container Registry: ghcr.io/mathewmusango/emuplane. Every release tags its version and moves latest to the same digest.
docker pull ghcr.io/mathewmusango/emuplane:latest     # the newest release
docker pull ghcr.io/mathewmusango/emuplane:<version>  # the tag docker-compose.yml names
The compose files pin a version, so bringing the stack up never changes the image
under you; latest is there for a quick look at the newest release.
Start it
The whole stack — MiniStack, its first-setup job and the control — fits in one file:
cp .env.all.example .env.all
docker compose --env-file .env.all -f docker-compose.all.yml up -d
The emulator is internal to that network and never published; the console answers
on http://localhost:4570 and the gateway on http://localhost:4571.
Already running an emulator? Point EP_BACKEND_URL at it and skip the bundled
one:
cp .env.example .env        # set EP_BACKEND_URL to the backend's endpoint
docker compose up -d
Either way, the compose depends_on runs the bootstrap service to completion
before the control starts. Bootstrap applies
bootstrap/template.yml as the emuplane stack — the DynamoDB tables Emuplane
keeps its own accounts and sessions in — and is idempotent. The control refuses
to serve if those tables are missing, rather than starting and failing on the
first login.
By hand, the same thing:
docker compose run --rm bootstrap
docker compose up -d emuplane
Two ports are published on loopback only:
| Port | What it is |
|---|---|
4570 | Console and control API |
4571 | Gateway for your tools |
The first account
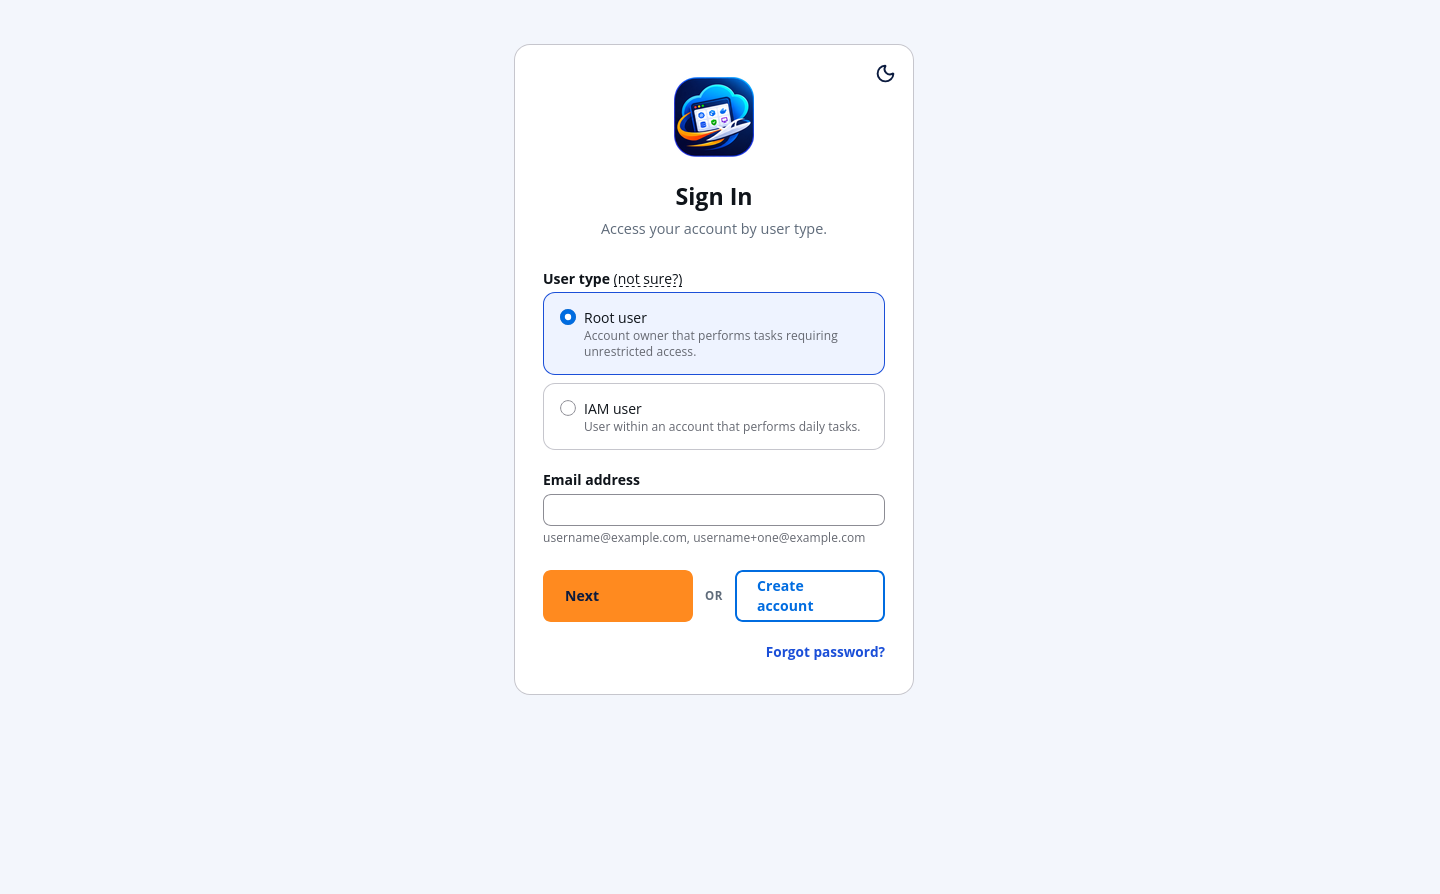
Nothing is seeded, so open localhost:4570/signup and create the first root user. That account owns everything until you add more.
Your first bucket
- Sign in at
/loginwith the root user you just made. - The region menu at the top picks the region every page acts in. A region an account has not used yet is enabled on first use.
- S3 → Create bucket. Give it a name and leave the defaults.
- Open the bucket. Its Objects tab is empty because the bucket is.
Prove it from outside the console
Mint an access key for the account in the console (Account → Access keys), then point the AWS CLI at the gateway:
export AWS_ENDPOINT_URL=http://localhost:4571
export AWS_ACCESS_KEY_ID=<the key id from the console>
export AWS_SECRET_ACCESS_KEY=<the secret, shown once>

aws s3 ls
aws s3 cp ./README.md s3://<your-bucket>/README.md
The gateway resolves the account from the key, checks that the request's signing region is enabled for that account, and forwards it. The object you uploaded is now in the console's Objects tab.